
If you want to update Name servers for domain registered with MilesWeb, it’s a few click task. It’s easy than sending an email.
Visit https://my.milesweb.com/index.php?rp=/login and login to your client area.

Once you logged in to you client area, navigate to left side of window and choose “Services.”
Under the drop-down menu, choose “My Domains.”

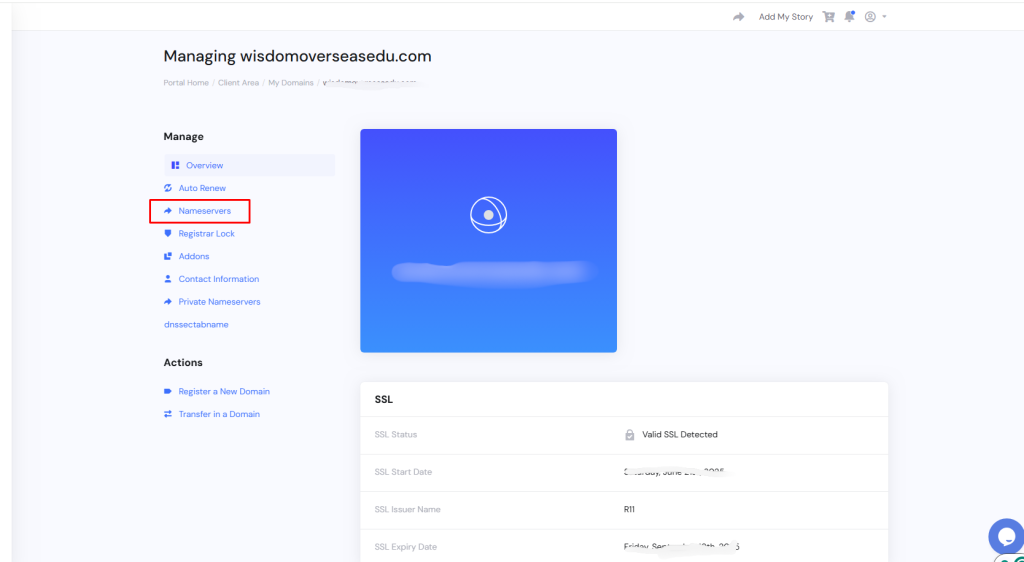
You will get the list of hosted domains under the “My Domains” Click “Manage” the domain for which you will be managing name servers.
The “Manage” panel have different options, choose “Nameservers.”
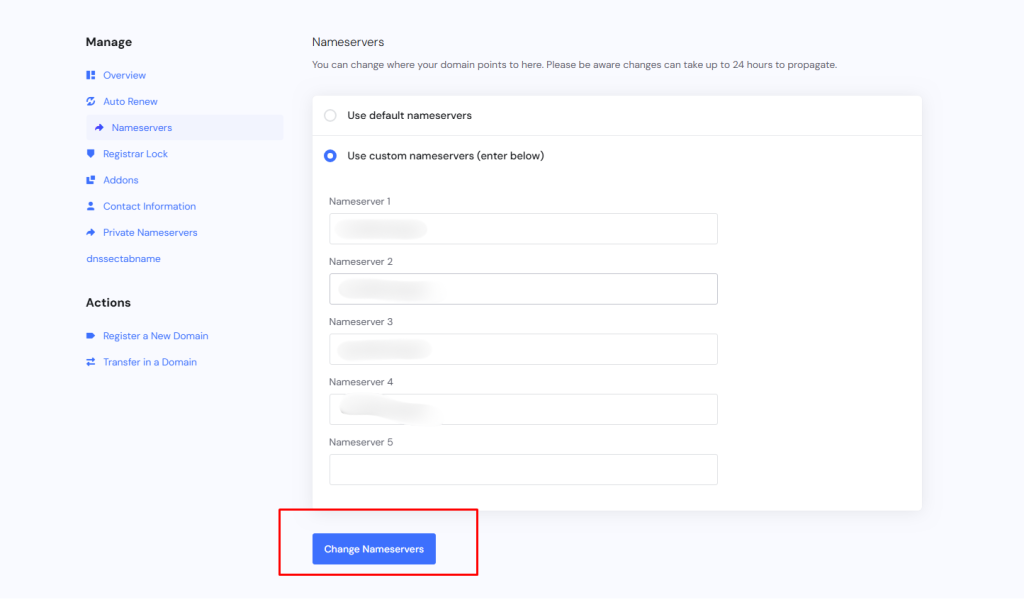
You will get the option to manage default nameserver or the custom nameserver. Choose your option.
Enter the Nameserver options for which you want your DNS to point.
Finally, click on “Change Nameserver.”
Updating your name servers is a fundamental process that connects your domain name to its online home. While it might seem technical, by following these clear steps and understanding the concept of DNS propagation, you can confidently manage your website’s online presence. Always ensure you have the correct name server information from your new provider and be prepared for the short propagation period. Once complete, your domain will be successfully pointing to your desired web host, allowing your website to be accessible to the world.


