
MySQL database is a well-known database to all kinds of developers. Being open source, it maintains a perfect balance between speed as well as features. Therefore, in this knowledgebase, you will learn to install phpMyAdmin on CentOS 7 – the best tool to manage your MySQL database. Your VPS will get an extra utility for improving the quality of life.
Command line is the native tool for accessing MySQL and this is the key reason to have phpMyAdmin. The command line isn’t accessible to all at any point and if the GUI – graphical user interface isn’t available, it can be hard for the newbies. A wide range of operations are supported by phpMyAdmin on MySQL and MariaDB (a fork of MySQL).
Reasons to Use phpMyAdmin
After installing phpMyAdmin on CentOS 7, you can enjoy new and intuitive interface via your browser, rather than using the command line. This web interface allows you to perform typical operations such as managing tables, columns, databases, relations, users, etc. and use the same for executing any SQL statement directly.
For increasing phpMyAdmin’s adoption, it is translated into 72 different languages and supports both RTL (right-to-left) and LTR (left-to-right) languages.
Other Features of phpMyAdmin:
- It allows you to display sets of multiple results via the procedures and queries that are stored.
- You can create, browse, edit, and drop tables, databases, columns, views, and indexes.
- Also, you can create, copy, drop, rename and alter tables, databases, columns and indexes.
- It helps to maintain the server, tables and databases with proposals on server configuration.
- You can load text files into tables with it.
Steps to Install phpMyAdmin on CentOS 7
Below are the steps to install phpMyAdmin on CentOS 7:
1. Access Your VPS
Prior to starting, you will need to access our VPS server using SSH.
Related: How To Login to Your Server By SSH?
2. Install an Apache Web Server
Apache web server is the first and foremost requirement of phpMyAdmin. Install Apache on your CentOS 7 virtual private server using the below command:
yum install httpd -y
Check the status of apache with the command:
systemctl status httpd
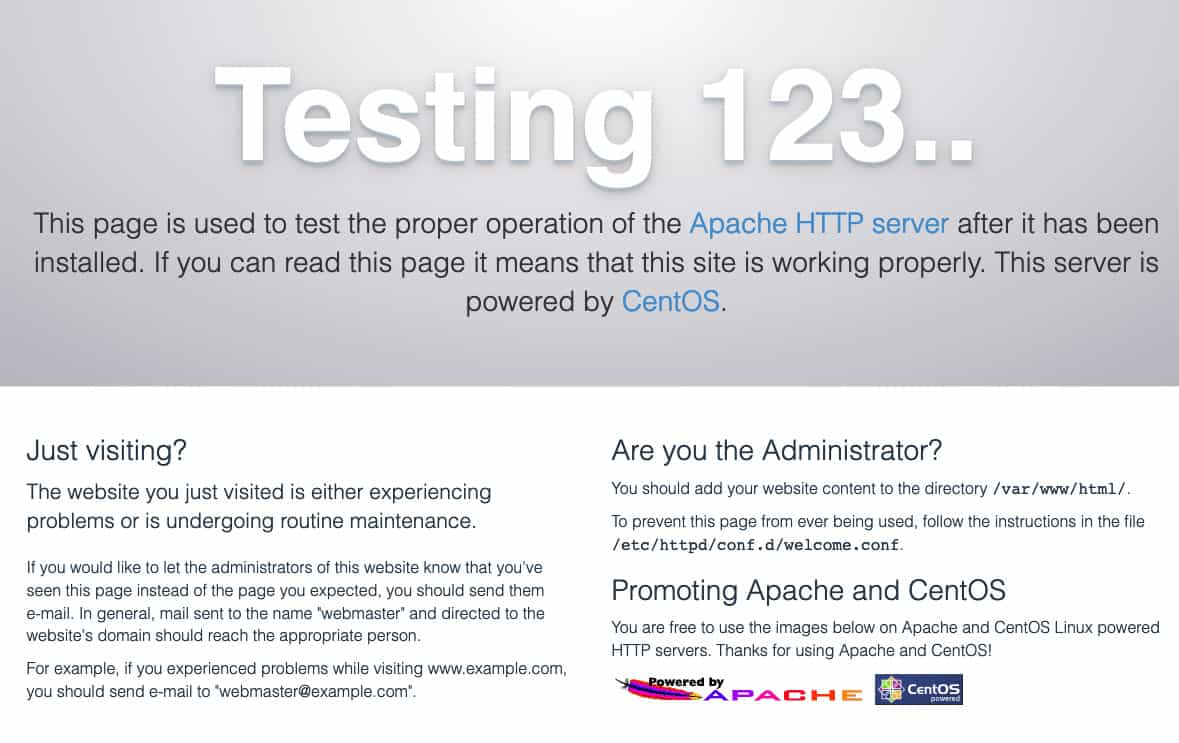
Then to check if Apache is running, enter your server’s IP address into a browser address bar. If it’s working you will see the Apache testing splash screen as below:
3. Install the EPEL Repository
The EPEL repository (Extra Packages for Enterprise Linux) includes phpMyAdmin. For accessing the EPEL, you will need to install a special package – epel-release. You can install epel-release on your CentOS using the below command:
sudo yum install epel-release
You can now proceed to install phpMyAdmin on CentOS 7 as the EPEL repo is available now.
4. Install phpMyAdmin on CentOS 7
Run the below command to install phpMyAdmin:
sudo yum install phpmyadmin
After the installation gets completed, you will need to edit the phpMyAdmin configuration file.
5. Configure the phpMyAdmin.conf File
Editing the file will ensure your access to phpMyAdmin client remotely. The phpMyAdmin.conf file located in the directory /etc/httpd/conf.d/ can be opened using the vim editor:
vim /etc/httpd/conf.d/phpMyAdmin.conf
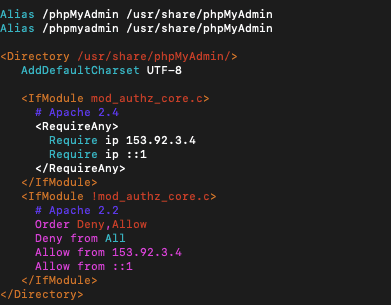
Here, there are four different require ip strings matched with long IPs. The default value is 127.0.0.1. You need to replace this value with the IP of the machine that you use to access phpMyAdmin. A tool like WhatsMyIP can be used to check your IP. Then save and exit the file by hitting escape and typing in :wq.
Check the example of the phpMyAdmin.conf file below:
6. Restart the Apache Web Server
Now, restart the Apache web server by entering the below command in the command line:
systemctl restart httpd
7. Check if phpMyAdmin is Working
Lastly, to open phpMyAdmin utility enter your server’s IP address in a browser’s address bar with the addition /phpmyadmin string such as – 127.0.0.1/phpmyadmin. You will see the login screen.
8. Locate Your phpMyAdmin Username and Password
Check for your username and password in the file config.inc.php. you will find the file in the phpMyAdmin installation directory. Here it is /etc/phpMyAdmin.
Use the vim editor to open the file:
vim config.inc.php
You can set the username and password inside this, as shown in the screenshot below:

Next, save and exit the file by clicking on esc and :wq as before.
Conclusion
Finally, you can log in to your phpMyAdmin! You have completed the phpMyAdmin installation on CentOS 7.
After logging in, you will see the intuitive dashboard that is well-known to any shared or cloud hosting users.
phpMyAdmin can be easily used and behaves as a complete solution for several business database requirements. No database admin experience is needed to work with phpMyAdmin and so, it is very popular.
Happy management with your phpMyAdmin!


